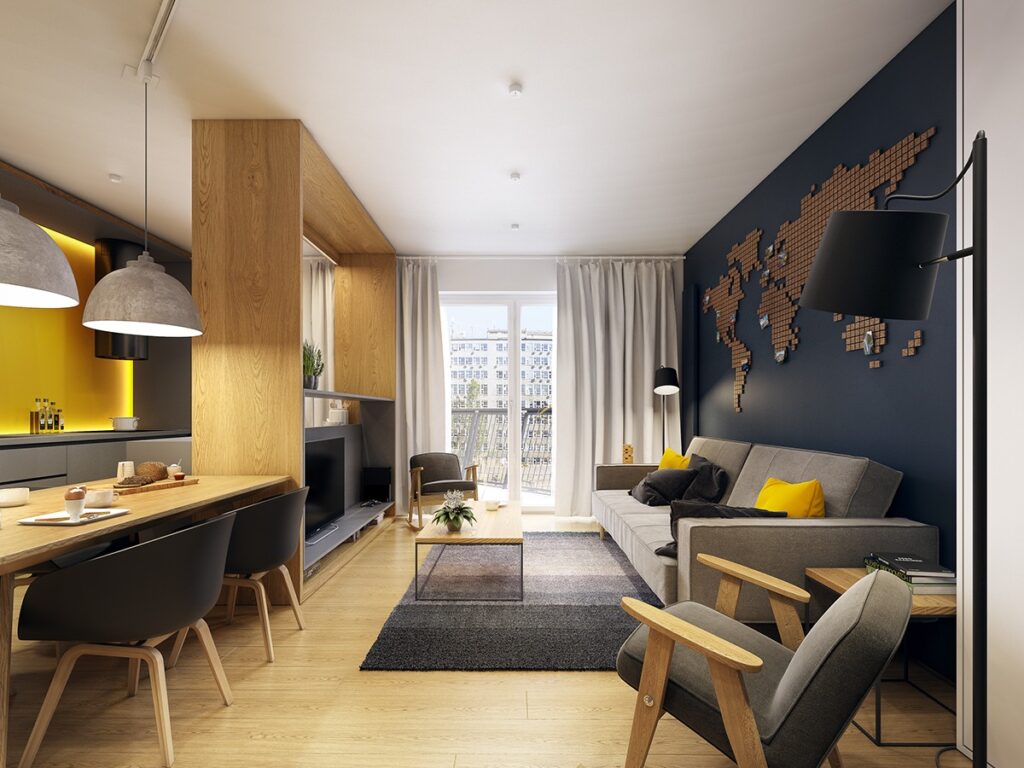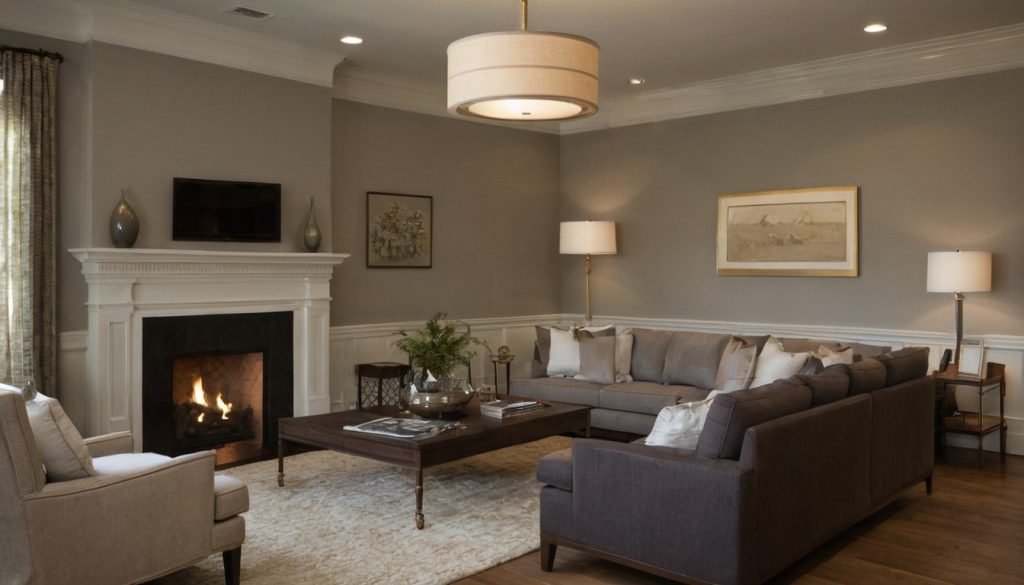
The U.S. Environmental Protection Agency reports that concentrations of many organic pollutants are commonly two to five times higher indoors than outdoors, although this does not describe every product or building. For a sunlit living room used for entertaining and television, choosing a finish therefore means choosing an installed system, not merely attractive walls decor.
Which living room wall finish best balances durability, glare, acoustics, and repair?
Paint offers the broadest balance of cost, renewal, and adjustable sheen, but no finish wins every category. The ratings below are conditional on product grade, substrate condition, assembly design, installer skill, climate, and local requirements.
| Finish | Glare | Impact | Cleaning | Acoustics | Repair visibility | Substrate demand | Time | Cost |
|---|---|---|---|---|---|---|---|---|
| Paint | Low to high | Moderate | Grade-dependent | None | Moderate | Moderate | Short | Low |
| Wallpaper | Usually low | Low | Type-dependent | Minimal | High | High | Medium | Low to medium |
| Timber veneer | Coating-dependent | Moderate | Moderate | Assembly-dependent | High | High | Long | High |
| Fabric panels | Low | Low | Limited | High with absorber | Replace to boundary | Moderate | Medium | High |
| Polished plaster | Medium to high | Moderate | Sealer-dependent | None | High | Very high | Long | High |
| Stone | Finish-dependent | High | Stone-dependent | None | High | Very high | Long | Very high |
Paint is the default when flexibility and whole-wall renewal matter most
Paint can balance glare and cleaning through its sheen and formulation. Manufacturer abrasion results matter more than labels such as matte or satin. A touch-up may flash after ageing or under grazing light, so recoating to a corner or whole-wall boundary often produces the cleaner repair.
Timber, fabric, plaster, wallpaper, and stone solve different performance problems
Wallpaper supplies pattern, veneer adds warmth, fabric over a tested absorber controls reflections, plaster creates continuous depth, and stone resists impact. Every advantage depends on its backing, adhesive, coating, cavity, sealer, or fixing. The Natural Stone Institute recommends suitable neutral cleaners, stone soap, or mild detergent for routine stone care and notes that sealers improve stain resistance without making stone stain-proof.
Damp substrates can undermine any finish. The EPA advises drying wet or damp areas within 24 to 48 hours while correcting the water source. A living room displaying sensitive collections may also use the National Park Service Museum Handbook as a conservative reference for preservation and documentation. With the assembly risks established, reflected light becomes the next test.
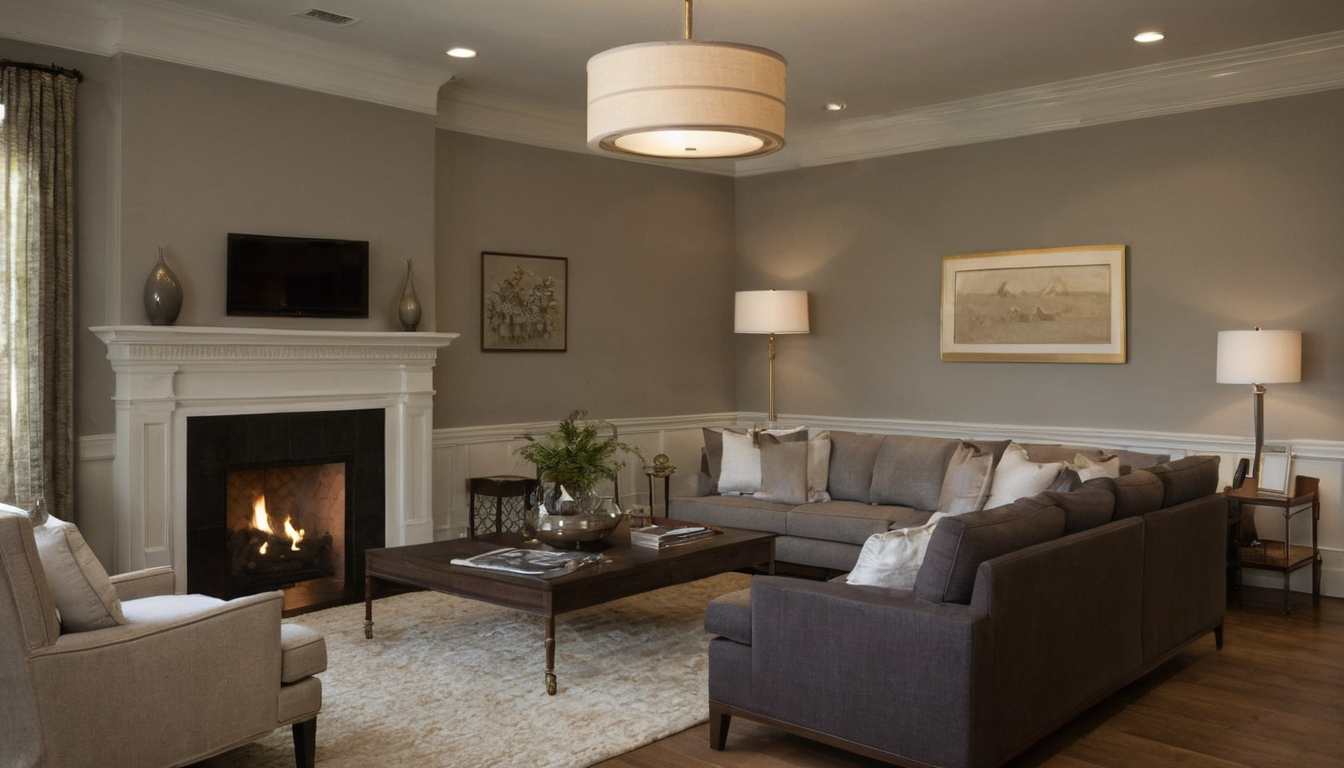
Which living room wall finish best balances durability, glare, acoustics, and repair shown with finish, fixture, and clearance relationships visible.
How do living room wall finishes change glare and reflected light?
Glare depends on sheen, texture, color, wall flatness, and the angles between windows, lamps, screens, and seating. A subdued sample can create sharp highlights when installed vertically, while pale matte paint can produce broad brightness without a mirror-like reflection.
Matte paint and low-sheen wallpaper reduce highlights only when the substrate is properly prepared
- Inspect patches, wallpaper seams, ridges, and waviness under daylight and raking artificial light. Low sheen cannot conceal raised work.
- View samples beside the television under daylight, downlights, wall washers, and picture lights. Dark finishes can still glare when polished, embossed, or grazed by light.
- Request manufacturer sheen data. ASTM D523 measures specular gloss at 20, 60, or 85 degrees, with the geometry selected for the gloss range and a sufficiently flat, uniform specimen.
Polished plaster, coated timber, and stone require full-size lighting mock-ups
- Mock up enough material to reveal trowel movement, directional grain, veneer joints, slab variation, and sealer sheen.
- Approve the finish vertically from the main seats after lighting positions are fixed, then record acceptable variation.
After controlling reflection, test how the same surfaces respond to contact, cleaning, and repair.
Which living room wall finishes withstand impact, cleaning, and visible repair?
Durability is not a single ranking. Paint may tolerate washing but show touch-ups, while wallpaper, veneer, fabric, plaster, and stone can suffer tears, dents, stains, chips, fading, or mismatched patches.
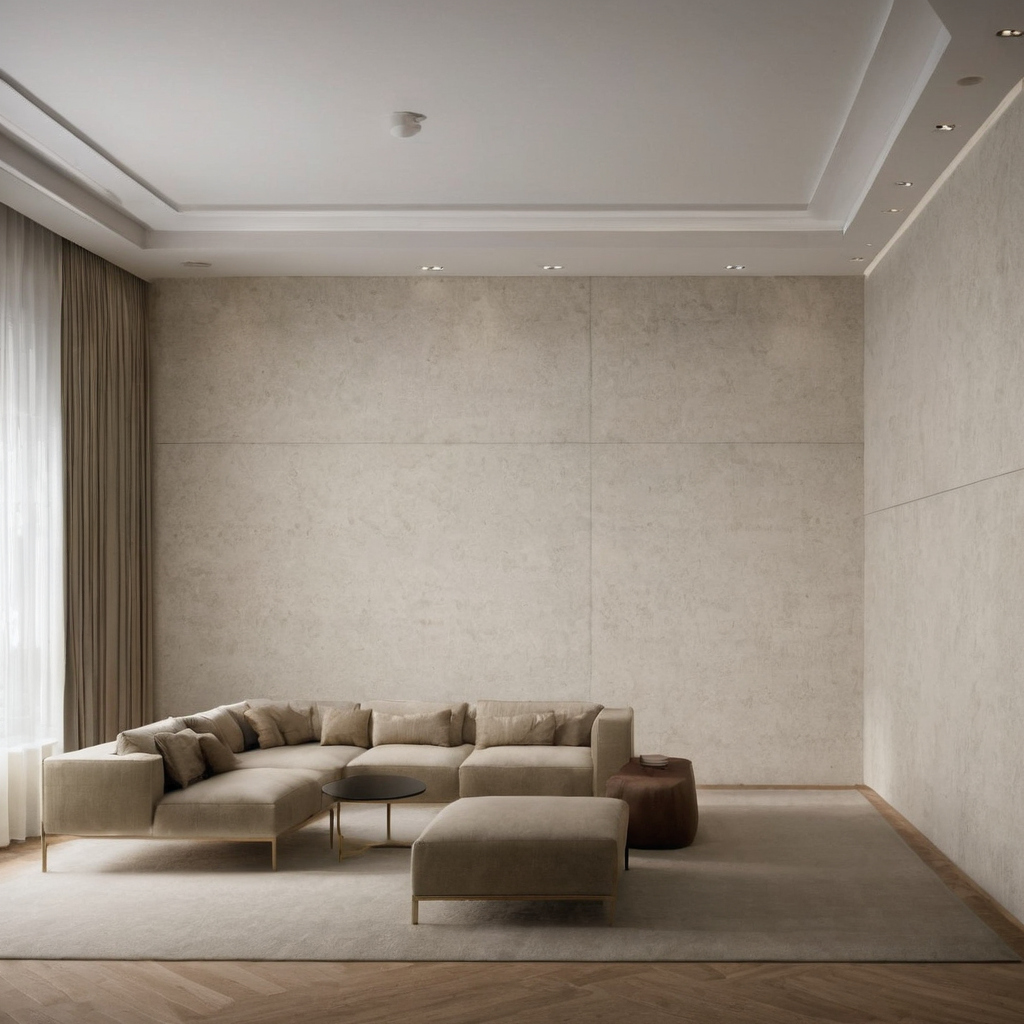
Which living room wall finishes withstand impact, cleaning, and visible repair shown as an editorial reference for proportion and finish coordination.
Repairability depends on whether the living room finish can be blended or must be replaced to a boundary
- Paint touch-ups can flash under side light; plaster may require refinishing to a corner, trim line, or full wall.
- Wallpaper drops, veneer panels, and fabric faces can be replaced at joints, but ageing and sunlight may reveal the new section.
- Stone chips may require specialist filling. For spills, the Natural Stone Institute advises blotting rather than wiping before using a cleaning method appropriate to the stone and stain.
Corners and high-contact zones need separate protection from the main wall finish
- Map risks against living room furniture layouts and circulation routes. Protect exposed areas with corner profiles, rails, skirtings, stand-offs, or replaceable panels.
- Coordinate finish thickness and removable access around switches, outlets, speakers, and concealed services.
Once contact risks are controlled, distinguish genuine acoustic absorption from decorative texture.
Which wall finish improves living room acoustics rather than merely looking acoustic?
A finish improves acoustics only when the complete installed assembly absorbs sound at the frequencies causing the problem. Fabric alone proves nothing. Tested fabric-wrapped absorbers and perforated or slatted timber with absorptive backing can reduce reflections, while stone, sealed plaster, and directly fixed timber generally remain reflective.
Decorative fabric panels need a tested absorber and mounting build-up
Request independent laboratory data matching the proposed fabric, absorber, frame, backing, thickness, air gap, and mounting condition. Review frequency-band results where television dialogue is unclear. The specification must also coordinate fire performance, sockets, speakers, wiring, dust removal, stain treatment, and fabric replacement.
Acoustic coverage should target reflection zones without overwhelming the living room
Place treatment after reviewing glazing, hard flooring, curtains, furniture, loudspeakers, seating, and opposing reflective walls. Absorption reduces reflections within the room but does not automatically block sound transmission elsewhere. Once coverage is defined, the substrate and installation sequence decide whether the assembly can be built correctly.
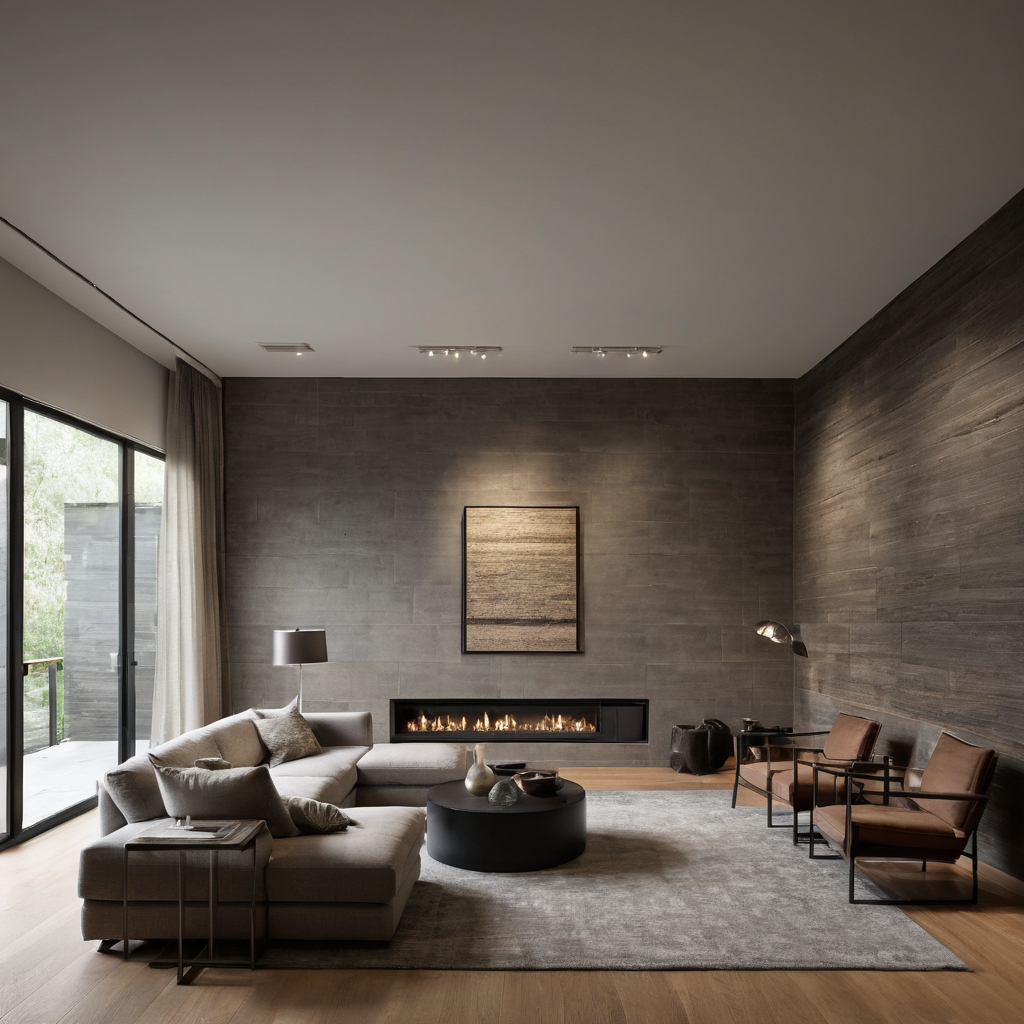
Which wall finish improves living room acoustics rather than merely looking acoustic shown as an editorial reference for proportion and finish coordination.
Substrate preparation and installation sequencing determine whether wall finishes succeed
The visible finish is only as reliable as its substrate, moisture condition, tolerances, joints, adhesives, and preceding trades. Paint and wallpaper expose poor plastering; veneer, fabric panels, polished plaster, and stone introduce thickness, weight, edge, fixing, and support requirements.
Living room wall finishes need junction drawings before materials are ordered
Draw transitions at skirtings, ceilings, corners, openings, fireplaces, outlets, and joinery. Assign tolerances and trade handoffs. Correct moisture sources before painting or caulking, then clean, dry, repair, and approve the substrate.
Mock-ups should be approved after lighting and adjacent materials are known
Approve a representative mock-up under intended daylight and final lighting, beside flooring, timber, metal, and textile samples. This sequence exposes glare and junction problems before lead time, wastage, and reordering change the apparent value.
Installed cost and procurement risk can reverse the apparent value of a wall finish
Material price alone does not predict installed cost. Substrate correction, specialist labor, trims, backing, acoustic infill, sealers, access, protection, freight, wastage, and retained repair stock can cost more than the face material.
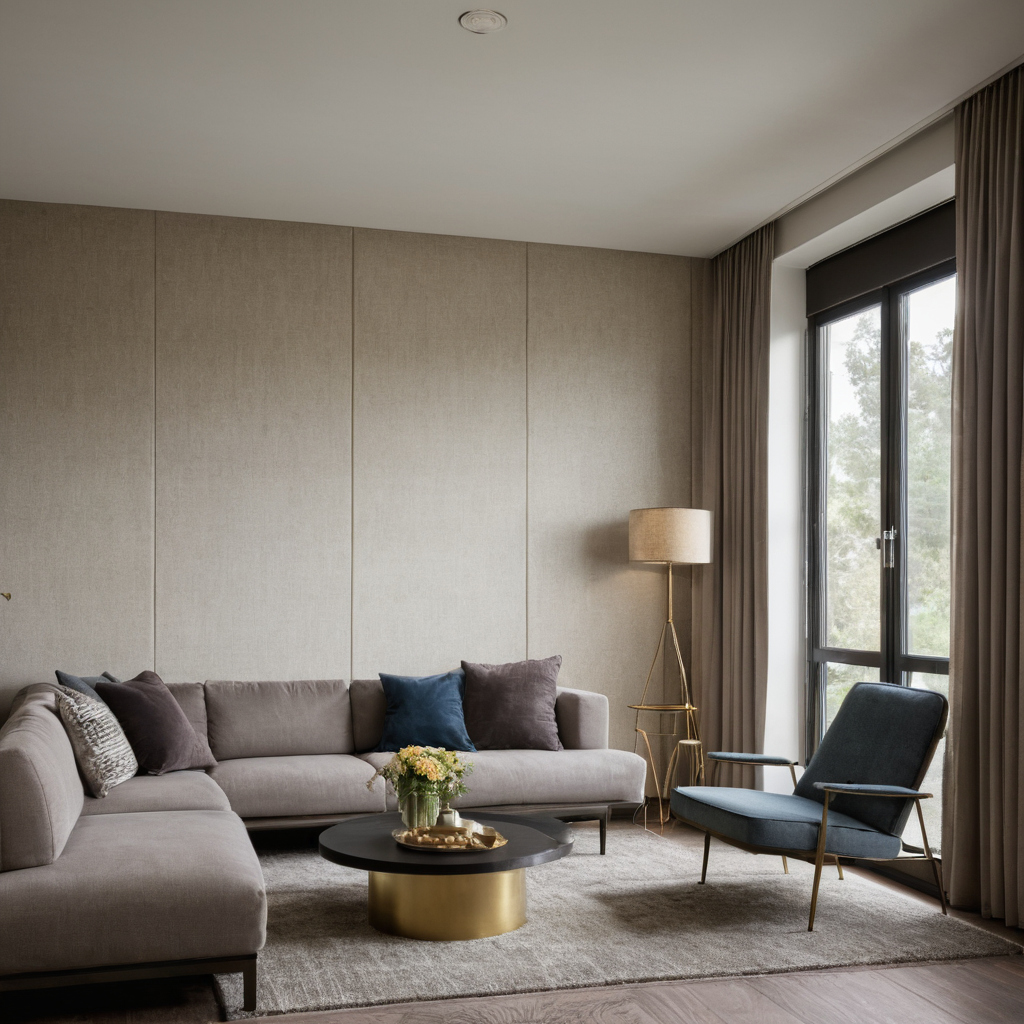
Installed cost and procurement risk can reverse the apparent value of a wall finish shown as an editorial reference for proportion and finish coordination.
Batch, dye-lot, veneer-leaf, and stone-slab variation must be approved before installation
Approve wallpaper rolls, fabric bolts, veneer sequences, plaster batches, and stone layouts together. Record pattern placement and matching methods because later orders may differ visibly. Occupancy also affects cost: the EPA reports that paint stripping can produce activity-related indoor VOC concentrations approximately 1,000 times background outdoor levels during and for several hours after the activity. This example does not describe normal cured finishes.
A living room wall-finish specification should record performance, samples, and repair rules
The final choice should become a performance specification, not a mood-board label. For each wall, record the complete assembly, substrate preparation, product reference, sheen, batch, edges, cleaning limits, approved sample, retained stock, installer responsibility, and acceptable repair boundary. For related context, review interior design basics for coordinating materials and light.
- Issue elevations showing finishes, transitions, corners, openings, sockets, and lighting junctions.
- List dimensions, backing, adhesive, coating, sealer, and installation method.
- Retain an approved control sample or mock-up through completion.
- Define acceptance criteria for seams, joints, variation, trowel movement, sheen, and grazing-light appearance.
- Require maintenance instructions, labeled spare material, warranty exclusions, and a written repair protocol.
For products that emit organic pollutants during application, follow labels and safety instructions while increasing ventilation, as advised by the EPA. Occupancy timing must also reflect climate, curing requirements, and manufacturer guidance.